
Do you want to search in all categories or in this category ?

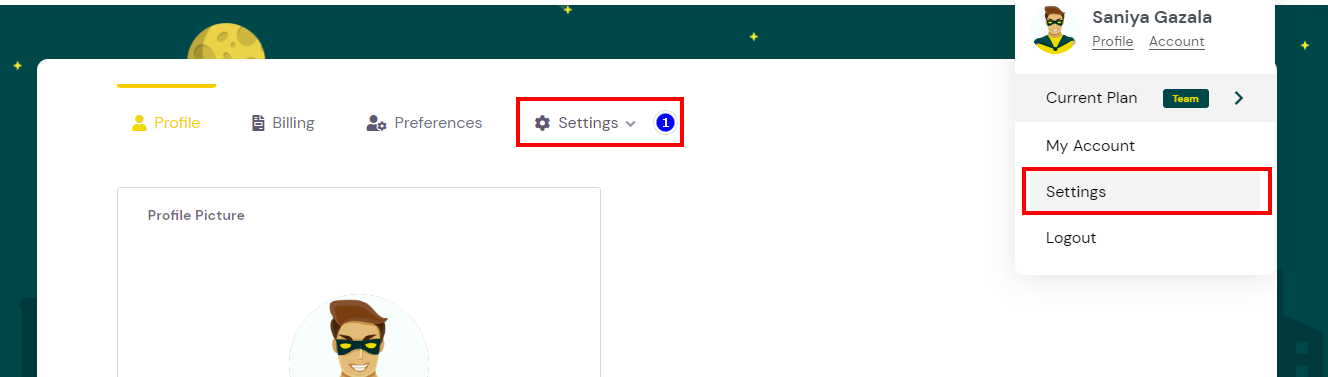
Click on the "Settings" to get additional options like Payment methods, Contacts, Tags, Import/Export, API and Team Account.
Add your custom payment methods here based on your limitation on the subs plan.
Click on "Add New" to add new payment methods.
A popup appears, Enter the Name, Description, select the Type from the given drop-down, set the Expire date.
Click on "Add"
The payment methods added are listed below :
Click on the "Edit" icon to edit the payment method
Click on the "Delete" button to delete the payment method.
Contacts: You can add contacts here, click on "Add New"
A Popup appears, Enter the Name and Email Address of the contacts If you want to send alerts to the added contact click on the "Active" Check box and click on "Add".
Added Contact will be listed as shown below :
The "Status" column shows if the contact is "Active" to receive the Subs/Lifetime alerts. You can uncheck the box to De-activate the contact from receiving alerts.
Click on Edit Icon to edit the contact.
A Popup appears you can edit the Email or the Contact name. You can uncheck the box to De-activate the contact from receiving alerts. (Meaning once you deactivate the contact won't receive any alerts).
Click on the "Save" button to save your changes.
Click on the "Delete" icon to remove the contact.
A Popup appears, click on "OK" to delete the contact else "Cancel"
You can add custom Tags here, click on "Add New".
A Popup appears, Enter the Tag name click on "Add".
Added Tags will be listed as shown below :
Click on the "Edit" icon to change the tag name.
Click on the "Delete" icon to delete the tag name.
You can find the alert profile under Settings> Settings tab > Alert profile.
These are the custom alerts set to notify at your own set timers and conditions.
To know how to Add or Modify the Alert Type you can check the complete explanation here on How to Add/Modify Alert Profile.
You can import your subs data into the application at once.
See the article How to Import/Export Subscriptions.
Note: The CSV fields are Case sensitive please check your fields before importing, Or refer to the download sample.
The upload limit is 250 records only. if you have more than 250 records divide them into 2 halves.
You can find the API under Settings> Settings tab > API
These API'S are really helpful for the users to build their own mobile application and also allow integration to software application's like Pabbly and Zapier.
To see how to access the API you can follow this article API .
Click on API under Settings> Settings tab > API.
Click on "Create" button .
A popup appears enter your name in the "Name" field .
After you enter your name click on "Create" button.
After you add the API , you API will be listed below:
Copy : You can copy the API key and paste it under any API software like 'Postman" to get the data.
Edit : You can edit the name of your API .
Delete : you can delete the API.
Once the API is used the last access time is displayed under "Last Accessed' column.
To know More about the API Request & Response click here : API
Click on API under Settings> Settings tab > API. On the right hand side you can create a webhook .
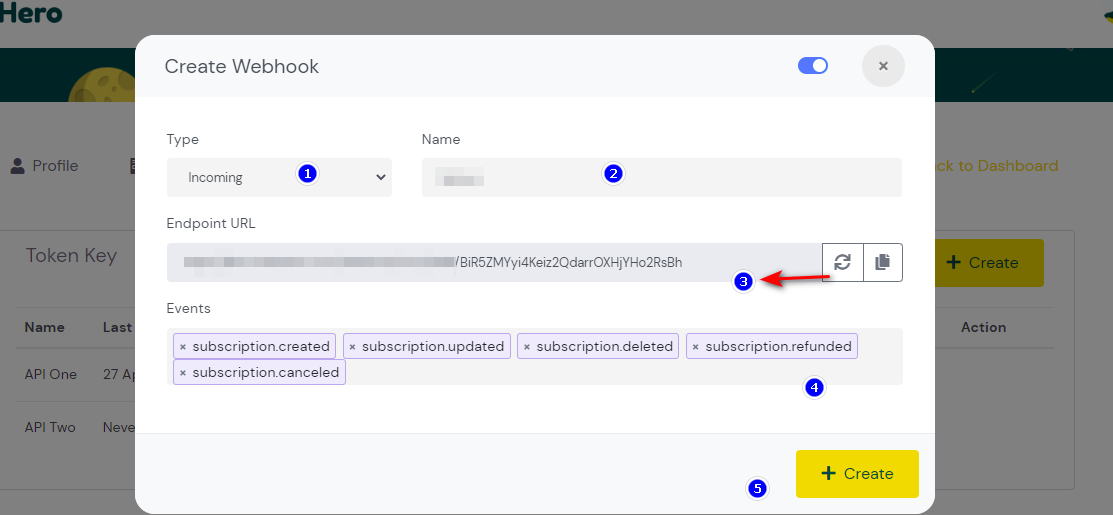
Click on "Create" button. Once you click on "Create" button, a popup appears
Select whether "Incoming" or "Outgoing" webhook you need.
Set the Name , the Name must be same as the logged in username .
Click on the "Generate icon" to generate the Endpoint url.
Select the status you want to create the webhook for . like "Subscription.create", "Subscription.refund", "Subscription.delete" and other status present in subshero.
Click on "Create" button the webhook is created.
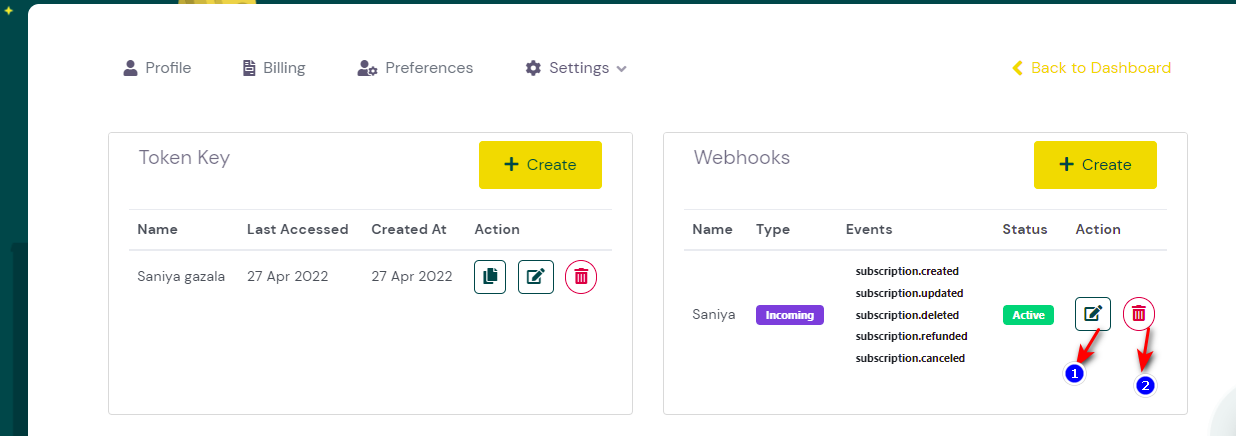
Edit : When click on Edit a popup appears , where you can make the edits to "Incoming webhook".
Delete : You can delete the incoming webhook if no longer required.


App Settings